Contact Us
Have a Question?

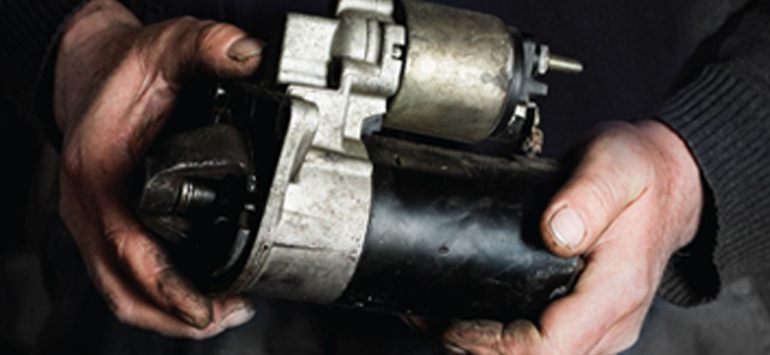
Starter motor replacement
1. SAFETY FIRST
Disconnect the battery. You only need to remove the negative cable. This is a good move any time you’re working on the car. NOTE: Many vehicles need to be raised up to reach the starter. On others, obtaining starter access can be difficult. Check your vehicle repair manual for location and replacement details. Always use safety stands and wheel chocks along with protective eye wear.
2. REMOVE THE WIRING
Remove the wiring and positive battery cable from the starter solenoid.
3. REMOVE THE STARTER AND BOLTS
Remove the starter retaining bolts. Remove the starter. NOTE: AutoZone will test your starter for free. This will help to verify you are working on the correct problem of the car.
4. COMPARE TO VERIFY
Compare the new starter to verify it will fit. Note: Some replacement starters do not appear identical but will have the same fit, form and function as the original (old) unit. Refer to product or installation bulletins packaged with the starter.
5. TRANSFER HEAT SHIELD
Transfer any heat shield and/or brackets (if equipped) to the replacement starter.
Inspect the flywheel teeth for damage. Now, place the new starter in the old starter’s position. Remember the starter shim if applicable.
7. SECURE AND TIGHTEN
Secure and evenly tighten the starter retaining bolts. NOTE: Do NOT over-tighten.
Connect the wiring to the starter solenoid.
9.RECONNECT THE BATTERY
Reconnect the battery and fire up the engine.
